
How to Paint a Room Step by Step: Materials, Preparation and Common Mistakes
Plan materials, prepare walls, estimate paint quantity and apply it safely with a roller and brush. Includes drying times, common mistakes and a worked example.
By TopicWeekPublished 11 min read

In this article
Painting a room is manageable when you separate the job into stages: inspect the surface, choose compatible products, calculate a realistic quantity, protect the room, prepare the wall and then apply paint in a steady sequence. This guide is for ordinary interior walls in sound condition. It does not replace a product label, a technical data sheet or specialist advice where the surface or access presents a risk.
1. Inspect the room before buying paint
Look for dust, grease, glossy patches, loose paint, holes, cracks, damp areas and mould. Check what the wall is made of and whether the existing coating is sound; the right preparation differs for plaster, masonry, drywall and previously painted surfaces. Small nail holes or shallow chips may be repairable with a compatible filler. Recurrent damp, active leaks, extensive peeling, large cracks or soft plaster need a diagnosis first. Painting over them hides a symptom rather than fixing the cause.
2. Gather only the tools the room needs
- Interior paint compatible with the wall; ceiling or trim paint only if those surfaces are included.
- Roller sleeve matched to paint and surface texture, plus a sturdy frame and tray or bucket grid.
- A smaller brush for edges; painter’s tape only where it helps protect a clean, dry surface.
- Stable floor and furniture covers, cloths, filler and a filling knife if repairs are needed.
- A step stool or ladder rated for the task, protective gloves and eye protection when splashes are possible.
- Primer, stain blocker or sanding abrasive only when the substrate, repair or paint maker calls for it.

3. Choose paint for the surface and room
Most interior wall paints are water-based, but “water-based” does not mean emission-free or harmless in every situation. Check that the label names the intended surface and interior use, and compare finish (matt, eggshell/satin or gloss), washability, coverage and VOC information. More sheen can make surface flaws easier to see; higher washability may suit busy areas but does not remove the need to prepare the wall. Use separate products for walls, ceilings, wood or metal where specified. Do not assume exterior paint belongs indoors, or that “low odour” means no ventilation is needed.
4. Test the colour in the actual light
Light from windows, lamps, floor and furniture changes how a colour appears. A screen preview is only an approximation. Use a sample in the way its manufacturer recommends and observe it at different times of day before buying all the paint. If you choose several cans of the same colour, check batch information and follow the maker’s advice about combining them; do not mix products with different formulations.
5. Calculate the amount of paint
For a rectangular room, estimate wall area as perimeter × wall height. Subtract doors and windows only if you will not paint them. Then multiply the net area by the number of coats and divide by the coverage stated on the chosen product in square metres per litre per coat. Calculate the ceiling separately. Primer also has its own coverage and is not included in the finish-paint total.
- Example dimensions: 4 m × 3 m room, 2.5 m walls. Perimeter = 2 × (4 + 3) = 14 m; gross wall area = 14 × 2.5 = 35 m².
- Subtract an unpainted 2 m² door and 1.5 m² window: net walls = 35 − 3.5 = 31.5 m². Do not subtract the openings again elsewhere.
- Two coats cover 31.5 × 2 = 63 m² in total. At a hypothetical 10 m²/L per coat, the theoretical finish-paint amount is 63 ÷ 10 = 6.3 L.
6.3 L is a worked estimate, not a guaranteed quantity or a universal pack size. Actual use varies with porosity, texture, repairs, old and new colours, application method and product coverage. The stated 10 m²/L is hypothetical: use the selected paint’s technical sheet. A 4 × 3 m floor/ceiling is 12 m², to be budgeted separately if the ceiling is included. Allow for product pack sizes without assuming every room needs the same margin.
6. Protect the room before opening the can
- Remove small objects and, if practical, clear the room. Move remaining furniture away from the walls and cover it.
- Use secure, suitable floor protection that lies flat; keep walkways, cables and exits clear to reduce trip risk.
- Mask frames and skirting only on clean, dry surfaces. Check the tape instructions and remove it as directed so it does not pull a fragile finish.
- Protect switches and sockets without removing them or covering functional openings. Never paint into contacts or electrical equipment.
- Keep paint, tools and cleaning products away from children and pets; plan ventilation before work begins.

7. Clean and repair the surface
Remove loose dust and clean marks or grease with a product appropriate to the coating. Follow its label, rinse if required and let the wall dry fully. Fill small holes with compatible filler, press it into the defect and level it without leaving a raised ridge. Allow the repair to dry as specified. If the product calls for sanding, use only the method and abrasive it allows, control dust and wear appropriate protection. Wipe or vacuum residue before painting.

8. Know when primer is useful
Primer is not an automatic extra coat for every wall. It may be needed on new or very absorbent surfaces, extensive filler patches, a difficult-to-bond substrate, or where a compatible stain-blocking or bonding product is specified. A sealer, primer and stain blocker do different jobs; choose the one named for the problem and wall material. Do not use primer to conceal active damp, mould or a leak. Follow the exact product’s preparation, dilution, coverage and drying instructions.
9. Follow a practical painting order
- Inspect, empty or rearrange the room, protect furniture and floor, and prepare the surface.
- Repair and prime only where the surface or product instructions require it; let each stage dry.
- If included, paint the ceiling first, then walls. Finish trim or doors according to the products and the planned masking sequence.
- Apply the next coat only after the stated recoat time; inspect the finish in suitable light after drying.
10. Paint the ceiling without unsafe reaching
Cover the floor and walls against drips. Use a roller and extension pole suitable for the product and ceiling, and paint only from a stable position. A pole can reduce reaching but does not make a chair, box or improvised platform safe. If the ceiling is too high, the ladder cannot be placed securely, or you need to work near a light fitting, stop and arrange suitable help. Do not remove or handle electrical fixtures as part of painting.

11. Paint the walls in manageable sections
- Stir the paint slowly and thoroughly as directed. Do not add water or solvent unless the product instructions allow it.
- Use a suitable brush to cut in a manageable length around corners and edges. Avoid loading it so heavily that paint runs.
- Load the roller evenly in the tray or on a grid, then roll off excess. It should be covered but not dripping.
- Work a small area at a time with overlapping passes. A W or M pattern can help distribute paint, but even coverage and the product’s instructions matter more than tracing a letter.
- Where possible, keep a wet edge and finish one wall in a continuous session. Do not keep working paint after it begins to set; this can leave marks.
- Let the coat dry for the product’s stated recoat interval. Check coverage and apply another coat only if the label and the result call for it.

12. Respect drying, recoat and cure times
These are different stages: touch-dry means the surface no longer feels wet under the conditions stated; recoat time is when another layer may be applied; curing is the longer development of the coating’s final properties. They vary by formulation, substrate, coat thickness, temperature, humidity and airflow. Use the exact label or technical sheet, not a universal “one-hour” rule. A dry-to-touch wall may still mark easily or not be ready for washing, furniture contact or full use.
13. Ventilate and follow the safety label
Use paint intended for indoor work and follow its label, safety data and room-use instructions. Ventilate during application and drying as directed while maintaining a safe temperature and avoiding draughts that disrupt the finish. “Water-based”, “low VOC” or little smell does not mean zero emissions or no risk for sensitive occupants. Keep children, pets and people with respiratory sensitivity away for the period specified by the manufacturer. EU Directive 2004/42/EC limits VOC content in certain paint categories; compliance is not a guarantee of zero emissions or a universal health certification.
14. Common mistakes and how to avoid them
- Painting over dust, grease or loose paint — clean and confirm the old coating is sound first.
- Skipping the test patch — check adhesion, colour and finish on a small inconspicuous area if the product allows.
- Using the wrong roller nap or brush — match the tool to the surface texture and paint.
- Overloading the roller — remove excess in the tray to reduce drips and thick ridges.
- Working a drying edge — organise sections so overlaps remain wet where possible.
- Adding water or solvent by habit — dilute only if the product instructions allow it.
- Applying another coat too early — wait the stated recoat time under actual room conditions.
- Covering a damp stain instead of finding its cause — stop and investigate leaks or persistent moisture.
- Standing on furniture or stretching from an unstable ladder — reposition a suitable ladder or stop.
- Ignoring ventilation and cleanup — follow the label, clean tools as directed and dispose of residue locally.
15. Diagnose finish problems before adding more paint
- Roller lines or lap marks: often relate to uneven loading, pressure, a drying edge or lighting. Let the coat dry; correct the cause and recoat only if appropriate.
- Drips or ridges: do not spread paint that has begun to set. After drying, follow the product’s advice on smoothing and repainting.
- Bubbles, peeling or widespread poor adhesion: stop. Moisture, contamination or incompatibility may be involved; adding a coat can make it worse.
- Persistent stains or damp patches: identify the source first. A stain-blocking product is not a repair for an active leak or mould.
16. Clean and store tools according to the paint
Check the paint label before cleaning. Some water-based products allow cleaning with water; solvent-based products may require a named cleaner and additional precautions. Do not pour paint, wash water or solvent into a drain or onto soil. Close containers as instructed, label leftovers and store them safely away from heat and children. Take unwanted paint and contaminated materials to the local collection route specified for your area; rules differ between municipalities and countries.
17. When to ask for help
A DIY job is more suitable when the wall is stable, the area is accessible and the work does not disturb a hazardous coating. Consider a qualified painter or building specialist for high ceilings, extensive damage, uncertain old coatings, recurring damp, difficult access, large peeling areas or a finish that needs specialist preparation. If you rent, review the agreement and ask the owner for permission where needed before changing colours or fixing equipment. For persistent mould, see our guide to mould on walls; painting is not a substitute for resolving its moisture source.
18. Quick checklist
- Before: assess the wall, check product compatibility, calculate walls and ceiling separately, plan ventilation and protect the room.
- During: repair only suitable defects, prime only as needed, apply manageable sections and respect recoat intervals.
- After: ventilate as directed, inspect only after drying, clean tools by product type and dispose of leftovers locally.
Frequently asked questions
- How much paint do I need? Use net wall area × coats ÷ the product’s stated m²/L per coat. Estimate ceilings separately and treat the result as approximate.
- Do I have to sand first? No. Sanding depends on the surface and product. Avoid disturbing unknown or potentially hazardous old coatings before assessment.
- When is primer needed? On certain new, absorbent, repaired or difficult surfaces, or when specified for adhesion or stains. It does not fix damp.
- What should I paint first? If included, the ceiling is commonly painted before walls; the order for woodwork and trim depends on the materials and masking plan.
- How many coats are needed? Follow the product guidance and assess coverage after the stated drying time. Two coats are not a universal rule.
- How long before the next coat or using the room? Use the product’s separate touch-dry, recoat and cure information; ventilation and room-use advice also matter.
- Can I paint over mould or damp? Not as a lasting fix. Identify and address the moisture source first; persistent mould may need professional assessment.
Sources and scope
- EPA: remodeling and indoor environmental concerns and EPA: lead-safe renovations for DIYers — US guidance; the 1978 reference is not a global cutoff. EPA: best practices for indoor air quality when remodeling — correct underlying damage causes and do not disturb asbestos-containing areas without qualified advice.
- INSST chemical risks — Spanish occupational-health context; follow the specific product safety sheet.
- EU Directive 2004/42/EC — VOC limits for specified categories, not a zero-emission or worldwide safety claim.
- Dulux: preparation and tools, room painting order and painting techniques — manufacturer guidance; check the chosen product rather than treating its directions as universal.
Related guides
Home
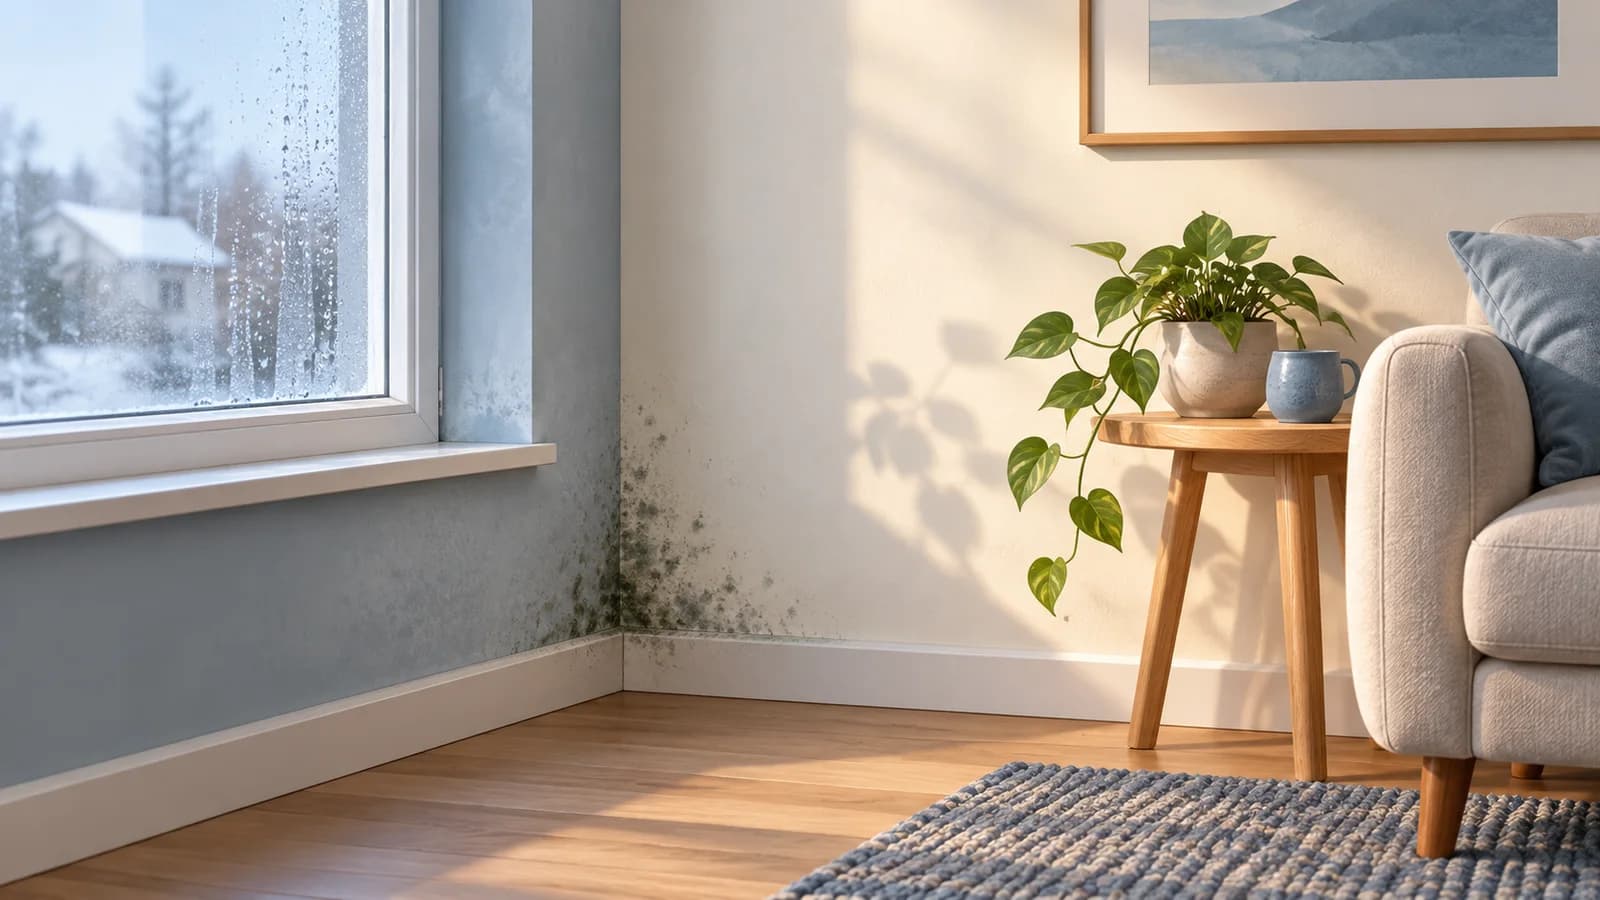
Mold on walls: why it appears and how to prevent it from returning
How to investigate the source of mold, clean a small area carefully, and reduce the chance that it will return.
8 min read

Home
Are Solar Panels Worth It for Your Home? Costs, Savings and Payback
What a home solar PV system costs, how much electricity it produces, how much of it you actually use, what happens to the surplus and how to work out payback, with three worked examples and the cases where it does not pay off.
27 min read

Home
Christmas Decorating Ideas for Small Spaces: Practical Ways to Save Room
How to decorate a small flat, studio or single room for Christmas without losing space: compact and wall trees, vertical decor, renter-friendly ideas and decorations that store easily.
15 min read